Here is the steps to create Impersonate Users:
Precheck:
Please create the user in console to which you want to apply impersonator
Step1:


Cheers!
Bose
Precheck:
Please create the user in console to which you want to apply impersonator
Step1:
- From the Weblogic Domain menu, select Security.
- Click Application Policies.

Step2:
- Click Application Policies.
- Click Create to display the Create Application Grant page.

Step3:
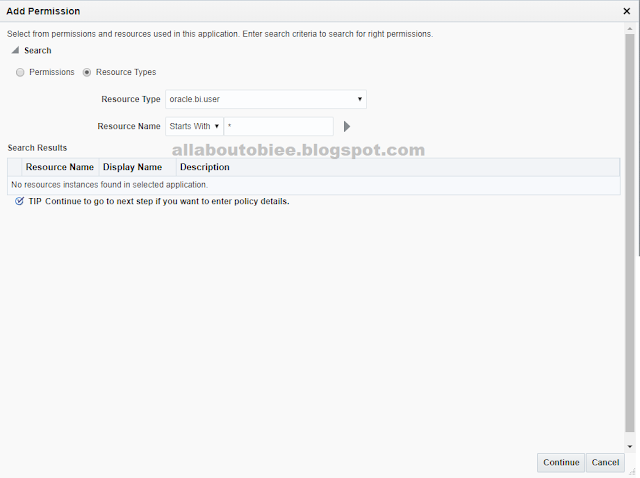
- In the Permissions section, click + Add .
- Select Resource Types
- Select oracle.bi.user from the Resource Type list.
- Click Continue to display the Add Permission dialog.
- Enter an asterisk (*) in the Resource Name field and click Next

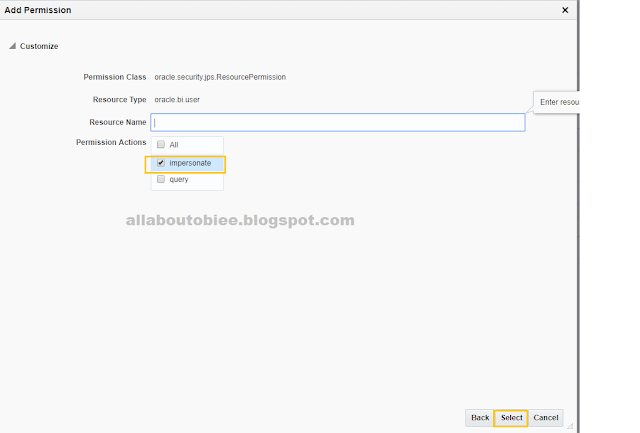
Step4:
- Select impersonate in the Permission Actions section.
- Click Select.

Step5:
- Now add a new grantee.
- In the Grantee section click + Add to display the Add Principal dialog.

Step6:
- We can choose to grant the newly created permission to either an application role or a user. In this example, we choose a user.
- Select User from the drop-down list.

Step7:
Here I have selected the user BIImpersonatorUser that I have created in console.

Cheers!
Bose

No comments:
Post a Comment